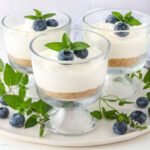
Rich and Creamy No Bake Cheesecake Cups
These cheesecake cups are easy, no bake mini desserts with a buttery graham cracker crust and rich, creamy filling chilled in individual cups. They’re perfect for making ahead and serving at church events or family dinners, topped with your favorite fresh fruit or sauce.
Ingredients
Crust
- 1 ½ cups graham cracker crumbs about 14 rectangular graham crackers, crushed
- ⅓ cup brown sugar
- 6 tablespoons salted butter melted
Cheesecake Filling
- 16 ounces cream cheese softened to room temperature
- 1 cup powdered sugar
- 1 teaspoon vanilla extract
- ½ cup sour cream
- ¾ cup heavy cream
Instructions
Prepare The Crust
- Start by crushing the graham crackers into fine crumbs. You can do this by placing them in a sealed plastic bag and rolling over them with a rolling pin until they are finely crushed. Alternatively, you can use a food processor if you have one.1 ½ cups graham cracker crumbs
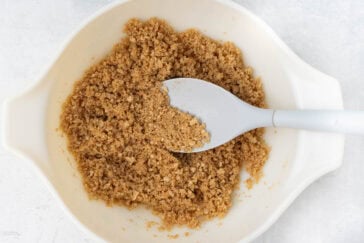
- In a medium-sized bowl, combine the graham cracker crumbs and brown sugar.⅓ cup brown sugar
- Melt the butter in the microwave or stove, then pour it into the bowl with the crumbs. Stir everything together until the mixture resembles wet sand.6 tablespoons salted butter
- Press the crumb mixture firmly into the bottom of the cups and lightly up the sides (1-2 inches). Make sure the crust is packed tightly so it holds together. I use the bottom of a drinking glass to help push the crust firmly into place.
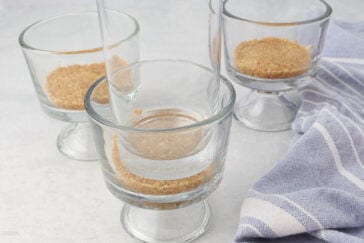
- Place the pan in the refrigerator while you prepare the filling.
Make No-Bake Cheesecake Filling
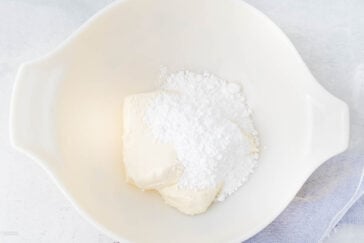
- Combine the softened cream cheese and powdered sugar in a large bowl with an electric handheld mixer or a stand mixer. Beat on medium speed until the mixture is smooth and light, 2-3 minutes.16 ounces cream cheese, 1 cup powdered sugar
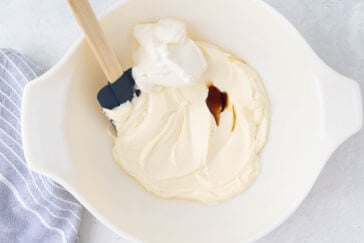
- Add the sour cream, vanilla, and cold heavy whipping cream to the bowl. Mix at medium-high speed until the filling becomes thick and creamy. This should take about 4-5 minutes. The mixture should hold its shape when you lift the beaters out of the bowl.
Assemble The Cheesecake
- Take the crust out of the refrigerator and spoon ½ cups of the cream cheese filling into each cup. Spread the filling evenly with a spoon to smooth it on top.

- Cover the cheesecake with plastic wrap and refrigerate for at least 4 hours or overnight to allow the filling to set.
Serving
- Once the cheesecake is fully chilled and set, remove it from the refrigerator. You can serve it plain or add fresh fruit or a fruit sauce on top.
Notes
Tips For Recipe Success: For the best results, keep the cream cheese soft and the heavy cream very cold. Press the crust firmly into the cups, and give the individual cheesecake cups plenty of chill time so they set well, hold their shape, and travel nicely to gatherings.
Storage
- Room Temperature: Because of the dairy, cheesecake cups should only sit out up to 2 hours before going back in the fridge.
- Fridge: Cover and refrigerate for up to 3 days, storing the cups on a tray so they’re easy to pull out for serving.
- Freezer: Freeze just the crust or plain cheesecake cups (no fresh fruit), then thaw overnight in the fridge before topping.
Nutrition
Serving: 11/2 cup | Calories: 471kcal | Carbohydrates: 41g | Protein: 6g | Fat: 32g | Saturated Fat: 18g | Polyunsaturated Fat: 1g | Monounsaturated Fat: 8g | Cholesterol: 92mg | Sodium: 307mg | Potassium: 170mg | Fiber: 1g | Sugar: 31g | Vitamin A: 1198IU | Vitamin C: 0.3mg | Calcium: 117mg | Iron: 1mg
