
There’s something irresistible about the sweet and spicy kick of this canned cowboy candy recipe that makes it a must-have every canning season. I love making a big batch of these pickled jalapeños because they’re so versatile and always get rave reviews.
Whether you’re spooning them over burgers, pairing them with cream cheese and crackers, or adding a jar to a homemade gift basket, these sweet pickled jalapeños are sure to impress. This cowboy candy is the perfect blend of heat and sweetness that keeps everyone coming back for more.

Gina’s Notes For Making This Canned Cowboy Candy Recipe
This has become one of my go-tos for good reason. It’s the perfect blend of sweet and spicy, and it always disappears fast at get-togethers. It’s easy enough for beginners, with no special equipment or ingredients beyond some pantry basics. The whole process takes less than an hour, making it a great option for quick homemade gifts or a last-minute addition to your pantry. For a detailed guide on how to get started, check out Canning 101 For Beginners. I often prep the jalapeños and jars the night before to make things even smoother the next day. And if you’re feeling creative, swap in other peppers or stir in some pineapple chunks for a fun flavor twist.
Quick Recipe Tips Before You Get Started
Important Prep Tips Before Starting the Recipe:
- Wear gloves when slicing jalapeños to protect your hands from the heat.
- Sterilize your jars and lids if canning.
- Use a non-reactive pot. Stainless steel or enameled cookware is best for vinegar-based recipes.
- Boiling vinegar and peppers can release strong fumes, so it’s best to ventilate your kitchen. A fan or open window helps.
Common Mistakes When Making This Recipe:
- Overcooking the peppers: Boiling too long makes them mushy. Stick to exactly 4 minutes.
Not prepping enough syrup: The jalapeños need to be fully covered.
Ingredient Tips
Here’s a quick overview of the key ingredients for this recipe. For the full list of ingredients and exact measurements, be sure to check the recipe card at the bottom of this post.

- Jalapeños: Look for fresh, smooth, glossy peppers with no wrinkles or soft spots. For more color and flavor variation, mix red and green jalapeños. Try using the extra for Spicy Pico de Gallo Recipe to keep the flavor theme going.
- Apple cider vinegar: Be sure to use vinegar labeled with 5% acidity, which is essential for safe pickling and canning. Lower acidity can make the recipe unsafe for long-term storage.
- Sugar: White granulated sugar works best here, creating that signature syrupy sweetness. If you’re planning to can, keep the amount as written, not just for taste but also for safe preservation and proper texture.
- Turmeric: Adds warm flavor and color. Can substitute ground mustard if needed.
- Celery seed: Optional but adds a savory herbal note.
- Granulated garlic: Garlic powder works too, but steer clear of fresh garlic when canning to avoid safety risks.
- Cayenne pepper: Use to customize your heat level. You can skip it for a milder version or double it if you like more kick.
How To Make This Canned Cowboy Candy Recipe
Make the Syrup & Add the Jalapeños
I always wear gloves for this part. Slice your peppers into ¼-inch rings, keeping or removing seeds depending on your heat preference.
In a large pot, combine the vinegar, sugar, turmeric, celery seed, garlic, and cayenne. Bring to a boil, then simmer 5 minutes.
Raise the heat to boil again. Stir in jalapeño slices and simmer for exactly 4 minutes. This keeps them crisp.


What Is Taking Place
Using a slotted spoon, pack peppers into sterilized jars. Pour hot syrup to cover, leaving 1/4 inch headspace. Remove air bubbles with a butter knife.

Seal and Process (Canning & Refrigeration Method)
Wipe jar rims, seal with lids, and process in a water bath for 10 minutes (half-pints) or 15 minutes (pints). Cool completely on a towel. If you’re new to preserving produce like this, you’ll also love this Water Bath Canning For Beginners Guide.
If you’re skipping the canning, just cool the jars to room temp, seal, and refrigerate. They’ll keep up to 2 months.


Variations, Substitutions, and Recipe Tips
Dietary Modifications: Try monk fruit or honey for reduced sugar versions (refrigerator only).
Flavor Enhancements: Add mustard seed, bay leaf, or sliced onions.
Add-In Options: Replace 1/3 of jalapeños with pineapple chunks for a tropical twist.
Simple Substitutions: Use serrano peppers or banana peppers if jalapeños aren’t available.
Tips for Recipe Success: Let the jars sit for 2 weeks before opening to deepen the flavor. Label each jar with the date it was made for easy tracking. If you enjoyed this, you might also love making Roasted Cherry Tomato Salsa Canning Recipe or Canning Peach BBQ Sauce to stock up your pantry with flavorful additions.

Storage and Reheating Instructions
- Canned: Store jars in a cool, dark pantry up to 1 year. Make sure the seal is tight before storing and avoid exposing jars to direct sunlight or heat.
- Opened jars: Once opened, refrigerate immediately and use within 1 to 2 months. Always use a clean utensil to scoop contents to prevent spoilage.
- Refrigerator-only version: Best consumed within 6 to 8 weeks. Let the jars sit at least 48 hours before serving for the flavors to develop. Label jars with the prep date to keep track of freshness.
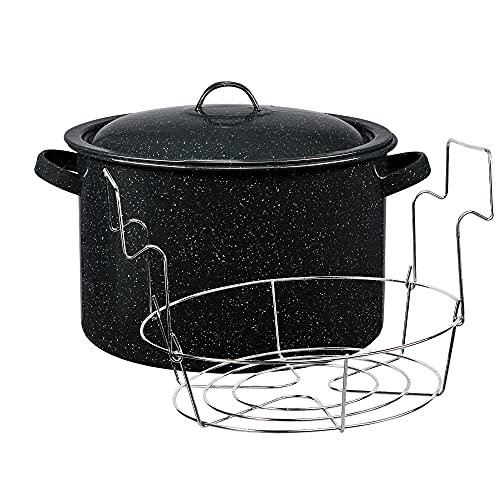
Favorite Canning Supplies
Have you made cowboy candy before? I’d love to hear how you served it. Share your favorite way in the comments, and don’t forget to pin this recipe for later canning season!

Easy Canned Cowboy Candy Recipe (Candied Jalapeños)
Ingredients
- 3 pounds jalapeño peppers, washed, fresh, and firm
- 2 cups apple cider vinegar
- 6 cups white granulated sugar
- 1/2 teaspoon turmeric
- 1/2 teaspoon celery seed
- 3 teaspoons granulated garlic
- 1 teaspoon ground cayenne pepper
Instructions
Prepare the Jalapeños
- Wear gloves to protect your skin from the heat of the peppers.3 pounds jalapeño peppers
- Cut off the stem ends and slice the jalapeños into 1/4-inch thick rings.
- For a milder version, remove the seeds after slicing.
Make the Syrup
- In a large non-reactive pot (like stainless steel), mix together the apple cider vinegar, sugar, turmeric, celery seed, garlic, and cayenne pepper.2 cups apple cider vinegar, 6 cups white granulated sugar, 1/2 teaspoon turmeric, 1/2 teaspoon celery seed, 3 teaspoons granulated garlic, 1 teaspoon ground cayenne pepper
- Bring to a boil over medium heat, stirring occasionally.
- Once boiling, lower the heat and simmer for 5 minutes until the sugar fully dissolves.
- Increase the heat and bring the syrup back to a boil. Add the jalapeño slices and return to a hard boil, then reduce the heat and simmer for exactly 4 minutes.
Fill and Process the Jars (Canning Method)
- Use a slotted spoon to pack the jalapeño slices into sterilized jars, leaving 1/4 inch of space at the top.
- Pour the hot syrup over the jalapeños to cover them, maintaining the 1/4-inch headspace.
- Use a butter knife to release air bubbles by sliding it around the inside of the jar.
- Wipe jar rims with a damp paper towel. Seal with two-piece canning lids tightened to fingertip-tight.
- Place jars in a water bath canner. Cover with water by at least 2 inches. Bring to a full boil.
- Boil jars for 10 minutes (half-pints) or 15 minutes (pints).
- Carefully remove jars and let them cool on a towel or rack, leaving space between jars.
Refrigerator Version (No Canning Needed)
- Prepare jalapeños and syrup as above.
- Pack jalapeños into clean jars and pour syrup over them, leaving 1/2 inch of space.
- Seal with lids and let jars cool at room temperature, then refrigerate.
- Store in the refrigerator for up to 2 months. Label jars with the date for freshness.
Gina’s Notes and Tips
- Wear gloves when slicing jalapeños to protect your hands from the heat.
- Sterilize your jars and lids if canning.
- Use a non-reactive pot. Stainless steel or enameled cookware is best for vinegar-based recipes.
- Boiling vinegar and peppers can release strong fumes, so it’s best to ventilate your kitchen. A fan or open window helps.
- Overcooking the peppers: Boiling too long makes them mushy. Stick to exactly 4 minutes.
- Not prepping enough syrup: The jalapeños need to be fully covered.
- Canned: Store jars in a cool, dark pantry up to 1 year. Make sure the seal is tight before storing and avoid exposing jars to direct sunlight or heat.
- Opened jars: Once opened, refrigerate immediately and use within 1 to 2 months. Always use a clean utensil to scoop contents to prevent spoilage.
- Refrigerator-only version: Best consumed within 6 to 8 weeks. Let the jars sit at least 48 hours before serving for the flavors to develop. Label jars with the prep date to keep track of freshness.


Tried this recipe?
Please consider Leaving a Review!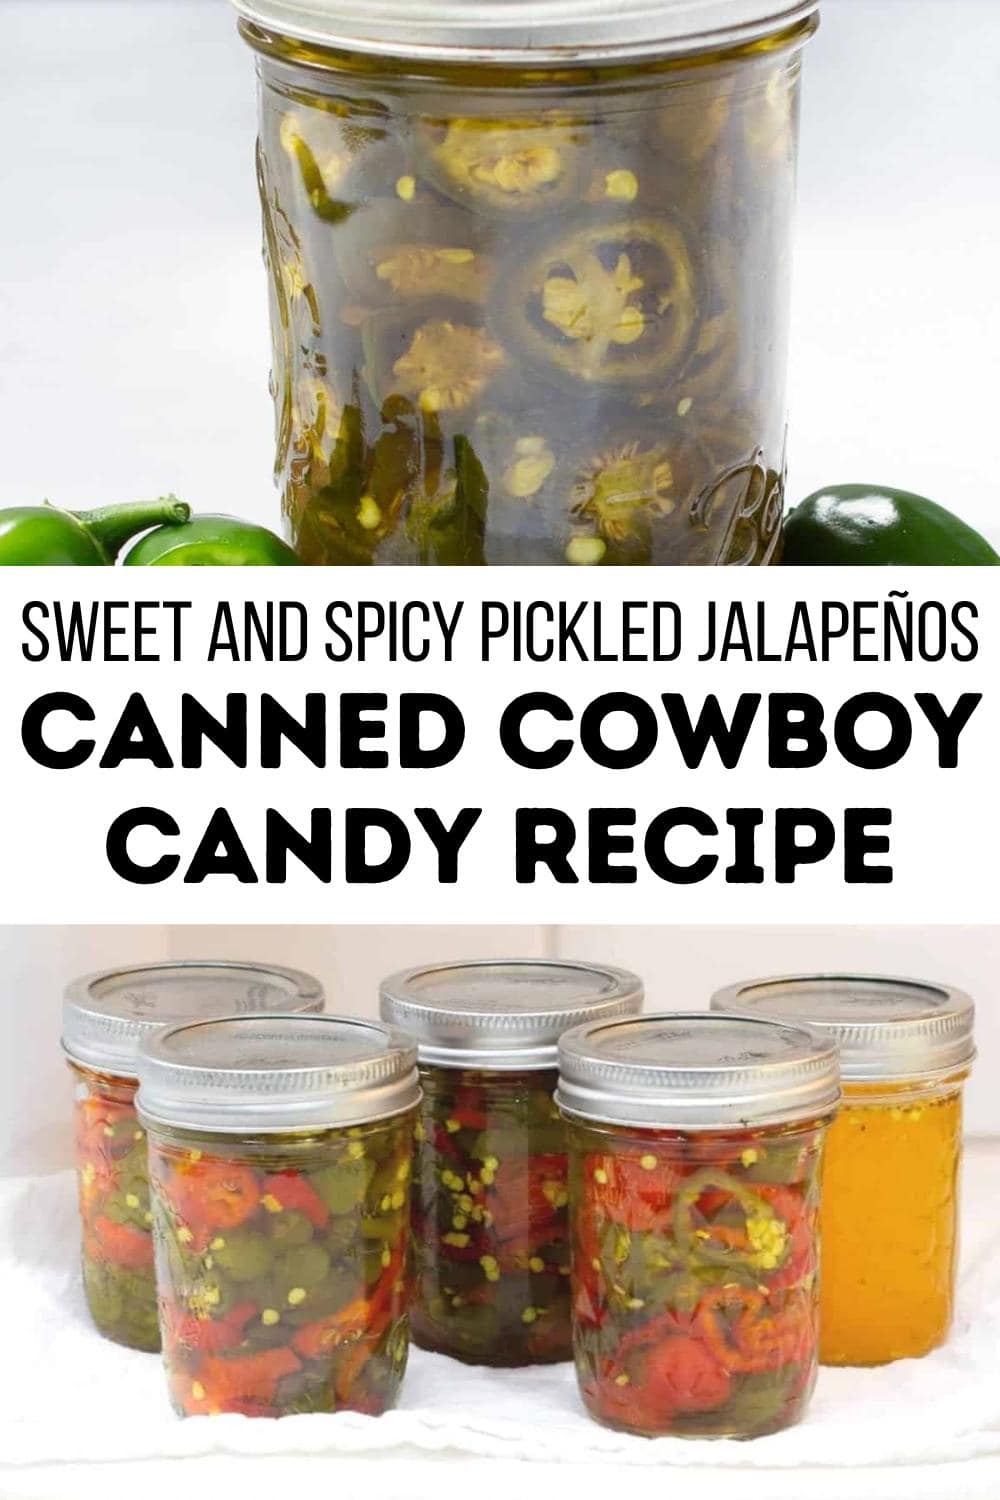
How long do they last in a dry cellar
I can enough to supply us for a year but sometimes we don’t get them all eaten until a year and a half.I keep them in a dry basement. Be sure to write the date on your lids with a permanent marker and store without the rings. To be sure you are following safe water bath canning practices be sure and visit: https://intentionalhospitality.com/water-bath-canning/
***According to the National Center for Home Preservation, properly canned food stored in a cool, dry place will retain optimum eating quality for at least 1 year. Canned food stored in a warm place near hot pipes, a range, a furnace, or in indirect sunlight may lose some of its eating quality in a few weeks or months, depending on the temperature. Dampness may corrode cans or metal lids and cause leakage so the food will spoil.
I’m new to canning, and can’t wait to try these out! I want to try canning some of this in the 4oz. jar to add to some gift baskets. Does that affect the canning time, or can I process them with the half-pint jars for 10 minutes?
Christine, I suggest processing them for 10 minutes. It’s not so much about the product inside, but the rubber seal getting hot enough to soften and conform to the jar top. Be sure not to not over process time-wise, because your pepper rings will get super soft and mushy. (how do I know? – I got busy and forgot to turn them off after 10 min. once. They were fine but just extra soft). I love the gift idea!
I like to add them into my deviled eggs. Takes it up a notch.
I can’t wait until I can make this! Thank you so much for sharing. ❤️
Sheri, Let me know how they turn out. Be sure to try them in my spicy pimento cheese recipe, so yummy.
I’ve tried pickling peppers, using several different recipes over the years, and found they get mushy even when adding calcium chloride. How does the texture of these hold up with the water bath processing? Thanks!
I have the EXACT same problem! It helps if the water is a full really hard boil when the jars go in, so the reboil happens quickly and so you can set the timer. This is off topic, but I have found a great way to make pickles & onions in vinegar and sugar. I make them as usual then put it in freezer containers. Then during the winter I put one in the fridge overnight to thaw. They are just like they were in summer, crisp. Maybe next year I should go on a quest for how to finally get non mushy pickles every time and then do a recipe for it.
Hi Gina, Would these be a little less spicy if I didn’t include the seeds?
Yes Michelle, if you leave the seeds out they would be less spicy. Also, be sure to cut out the white soft part that holds the seeds to the inside of the pepper. This is also were most of the heat is. I found some garden seeds for fooler jalapenos last year. They look exactly like the spicy ones but no heat. If you grew these it might be good to add some of these in if you don’t want to much heat. Alos, be sure to save any juice if you don’t use it all. A little bit in saldressings, marinades or dips is so yummy.
The title is refrigerator or canned. If I want to refrigerate and skip canning, do I just put them in the jar and refrigerate? Or do you let “ferment” on the counter for a few days?
Kathy, Good new, you can put these right into the refrigerator as soon as you put them in the jars. They are a sweet spicy treat so they do not need to ferment. These are one of my husband’s favorite spicy condiment on burgers and hot dogs. I personally like them in my Spicy Pimento Cheese recipe.
Hello, I have been trying to substitute honey for white sugar whenever possible. Sound right for this recipe??? Or stick with the white sugar? OR…Give it a try and let me know, lol
William, I have found the following information from the Oregon State Univ. Extension Service:
“Some people use honey in place of sugar in food preservation recipes. This does not reduce the sugar content of preserved foods. Two types of sugar — fructose and glucose — are the major components of honey.
Honey can be substituted for sugar in canned and frozen fruits. The flavor of honey is sweeter than that of granulated sugar so it is advisable to use less honey than the amount of sugar specified in the recipe. Be sure to use light, mild-flavored honey if you don’t want noticeable flavor changes in your preserved products.”
I also read honey has a higher acidic level than white sugar which is good when canning. I would suggest using a light early harvest honey for this recipe. Our bees fall honey harvest was dark and earthy due to the goldenrod and other fall bloomers.