

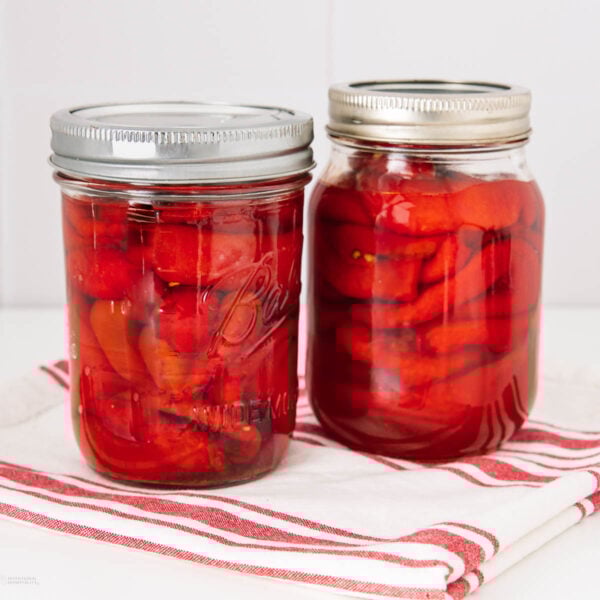
Canning roasted red peppers is a simple way to preserve the smoky, tender flavor of oven-roasted peppers using a pressure canner, so you have jars ready for sandwiches, salads, and pizza whenever you need them. The peppers get roasted until the skins blister, steamed to make peeling easy, then packed into jars with a little salt and apple cider vinegar and processed for safe, shelf-stable storage. It’s an easy stock-your-pantry project that turns five pounds of peppers into months of ready-to-use flavorful red peppers.

I have always loved adding roasted red peppers to my recipes, especially my pimento cheese and spicy pimento cheese, but I got tired of paying what the store wanted for a little jar of them. So I started growing my own red peppers and roasting them myself, which meant I needed a way to keep them on hand year-round. I tried roasting them on the grill, I tried the stovetop burner, but honestly, the best smoky, charred flavor came from roasting a big pan of them right in the oven, then covering the whole tray with foil to steam. That foil trick is also just the easiest way I have found to peel a large batch without losing half your afternoon to it.
Ingredients Needed for Canning Roasted Red Peppers
Here’s a quick overview of the key ingredients for this recipe. For the full list of ingredients and exact measurements, be sure to check the recipe card at the bottom of this post.
- Red Peppers: look for ones that feel heavy for their size with tight, smooth skin, that’s usually a sign they’ll roast up nice and juicy. If you’re growing your own, this is a great way to use up a big harvest all at once instead of letting them go soft in the fridge.
- Olive Oil: just enough to brush over the peppers before they go in the oven, which helps the skins blister properly so they’ll peel clean.
- Apple Cider Vinegar: this adds a little tang and helps with safe preservation in the jar. It’s a small amount, but it matters for how the finished peppers taste.
How To Make Canning Roasted Red Peppers
Roast the Peppers
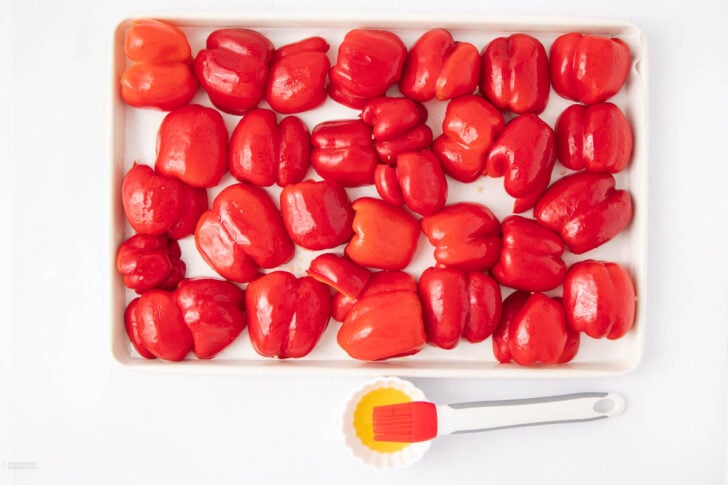
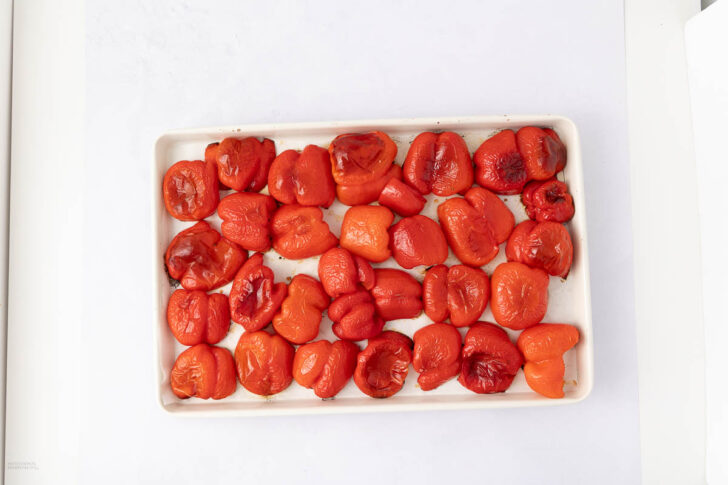
I like to start by preheating my oven to 400°F. Line a baking sheet with parchment for easy cleanup. Arrange the pepper halves skin-side up, then brush lightly with olive oil. Roast for about 20 minutes, just until the skins blister and start to pull away from the flesh. You’re looking for charred spots, but try not to let them get too dark, or your jars will look a little mottled. (Don’t worry if they do, those peppers still taste amazing!)
Steam and Peel
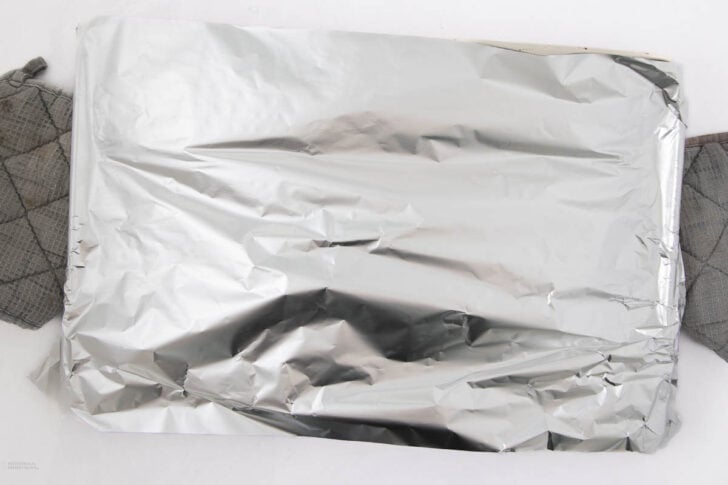
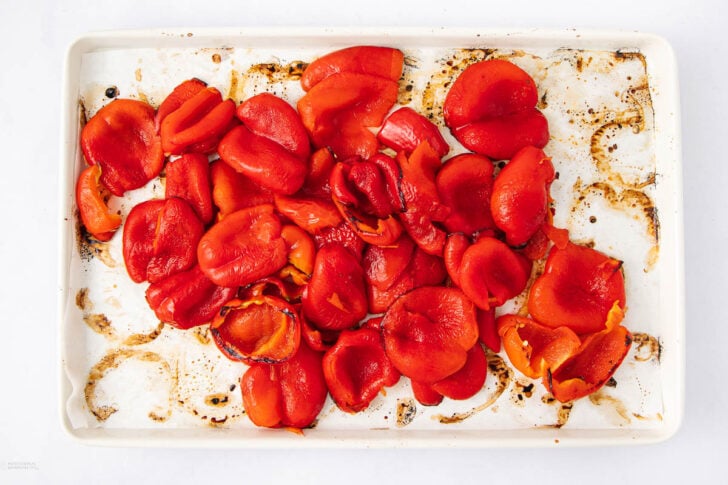
As soon as the peppers come out, I cover the tray tightly with foil and let them steam for 10 minutes. This makes peeling a breeze. Once cool enough to handle, peel away the skins; they should slip off easily. If you find a stubborn spot, a little more steam time will help.
Prepare & Pack the Jars
While the peppers cool, I get my canner ready by adding about 2 inches of water and heating it to 180°F. Wash your jars, lids, and rings so they’re spotless and ready to go.
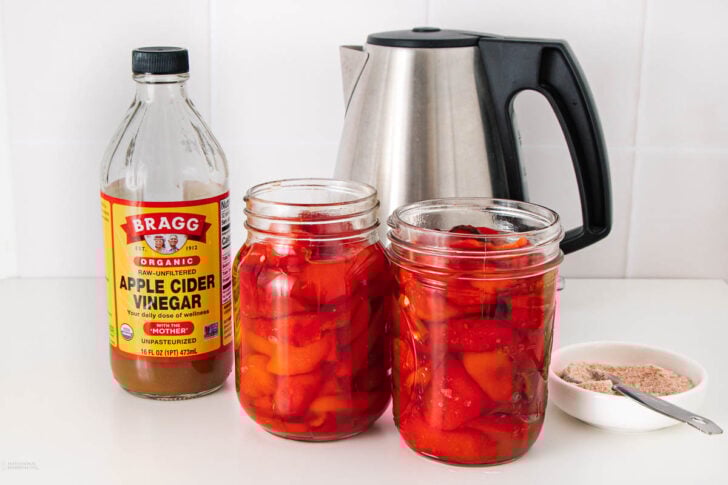
Into each pint jar, add ½ teaspoon salt and 2 teaspoons apple cider vinegar. Gently pack the peeled peppers, leaving a good inch of headspace. Pour boiling water over the peppers until they’re covered, but still with an inch of space at the top. Use a bubble remover to get rid of any air pockets. Wipe the rims, place the lids on, and screw the rings just fingertip tight.
Pressure Can the Red Peppers
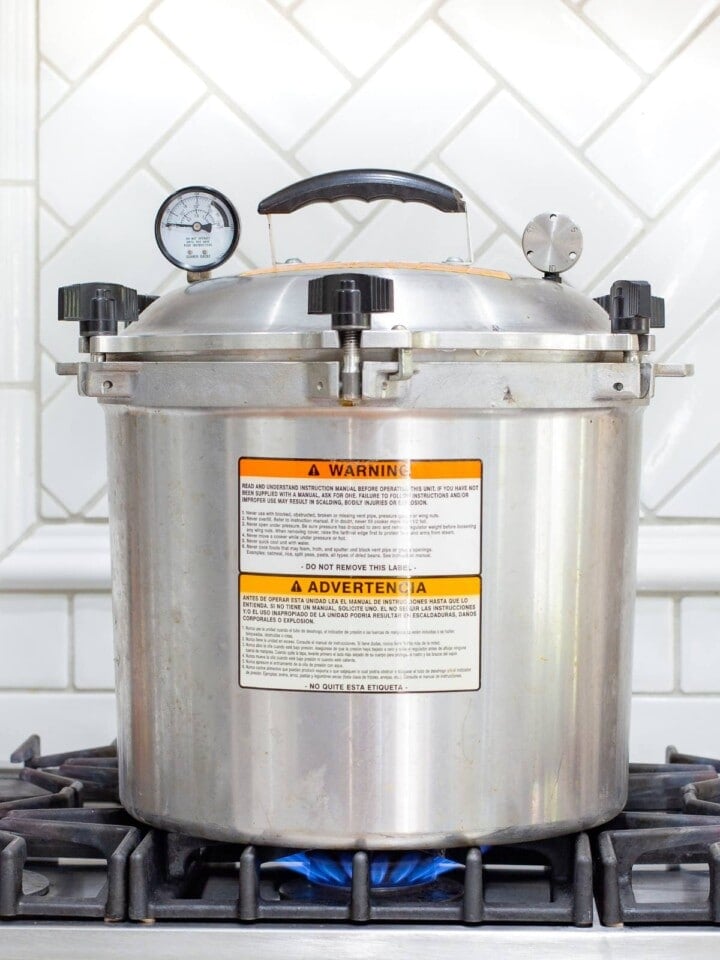
Place jars on the rack in the canner. Lock the lid and heat on high. Let the canner vent steam for 10 minutes, then place a weight on the vent.
Refer to the chart below for the time and weight to process your jars.
| Recommended process time for Peppers in a dial-gauge pressure canner. | ||||||
| Canner Pressure (PSI) at Elevations of | ||||||
| Style of Pack | Jar Size | Process Time | 0 – 2,000 ft | 2,001 – 4,000 ft | 4,001 – 6,000 ft | 6,001 – 8,000 ft |
| Hot | Half-pints or Pints | 35 min | 11 lb | 12 lb | 13 lb | 14 lb |
| Recommended process time for Peppers in a weighted-gauge pressure canner. | ||||
| Canner Pressure (PSI) at Elevations of | ||||
| Style of Pack | Jar Size | Process Time | 0 – 1,000 ft | Above 1,000 ft |
| Hot | Half-pints or Pints | 35 min | 10 lb | 15 lb |
Tip: Don’t skip venting the canner for the full 10 minutes before you set the weight, it feels like a step you could rush past, but it’s what gives you a proper seal. I always double-check the chart for my altitude too, since the pressure you need changes depending on where you live, and it’s not something to guess on. And if you don’t own a jar lifter yet, get one before you start, it makes moving hot jars in and out of the canner so much safer and easier.
If you have a jar that does not seal properly, you can place the peppers in a freezer-safe container and cover with the liquid. Label and freeze for up to 3 months. Thaw overnight in the refrigerator when you are ready to use them.

Ways to Customize Your Canned Roasted Red Peppers
Once you’ve got the basic method for canning roasted red peppers down, it’s easy to make this recipe your own.
I like mixing in different pepper colors and heat levels for a custom blend in the jar, and if you want a little kick, a few slices of jalapeño tucked in with the red peppers does the trick nicely, just wear gloves when you’re handling hot peppers so you don’t regret it later.
One thing I won’t do, though, is add fresh garlic or herbs into the jars themselves. Every trusted canning source says fresh garlic and herbs in with low-acid peppers isn’t safe, so if you want that flavor, add dried herbs to the jar instead, or toss fresh garlic and herbs in right before you serve them.
Keeping Canned Roasted Red Peppers Ready to Go
Part of why I can these peppers is to have a jar always on hand, whether that’s for a weeknight sandwich, a batch of pimento cheese or spicy pimento cheese, or a friend showing up unannounced and I add them to a charcuterie board.
Favorite Canning Supplies
Questions About Canning Roasted Red Peppers
No, a water bath canner isn’t safe for roasted red peppers. Peppers are a low-acid food, and without pickling them to bring the acidity up, only a pressure canner processes them at a high enough temperature to be safe for pantry storage. Pressure canning roasted peppers is the method this recipe uses for exactly that reason.
You only need them cool enough to handle safely while peeling, not fully cooled. Everything else stays hot through the packing process, since packing hot peppers into jars with boiling water is part of what makes this method process safely.
No, this recipe roasts the peppers instead of blanching them. Roasting at 400 degrees for about 20 minutes is what gives you that smoky, charred flavor and makes the skins blister so they peel off easily after a quick steam under foil.
If the lid flexes when you press the center, or you notice bulging, an off smell, or mold when you open the jar, the seal has failed and that jar should be thrown out. One thing I’ve learned is to run a finger over the jar rims for tiny chips before canning, since even a chip that small can keep a jar from sealing, and it’s often not obvious until the jars have sat on the shelf a while.
If you have a jar that does not seal properly, you can place the peppers in a freezer-safe container and cover with the liquid. Label and freeze for up to 3 months. Thaw overnight in the refrigerator when you are ready to use them.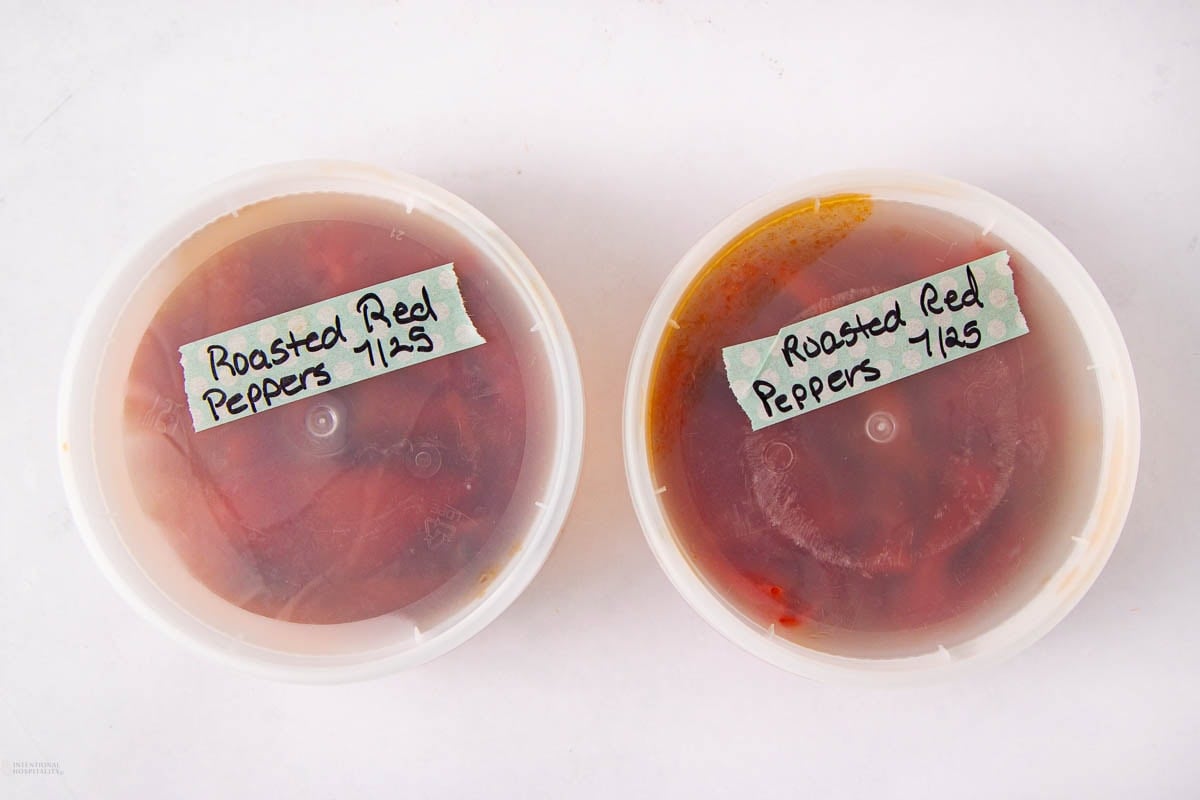
Showing Hospitality With Canned Roasted Red Peppers
Having a jar of these already roasted and ready in the pantry means I can pull together something that looks like I planned it for days, even when someone calls an hour before they show up. That’s the beauty of a Spanish Tapas Night, just set out small plates of these peppers alongside marinated olives, a batch of cheese straws, some crusty bread, and whatever cured meat you have on hand, and let people build their own little spread while you actually sit down with them.
Keep it simple, a cutting board and a few small bowls is really all the setup you need. I think that’s a lot of what real hospitality is, not a big production, just having something ready so you can open the door without hesitating. Jesus welcomed people at tables all through the Gospels without any of it needing to be fancy, and there’s something freeing in remembering that our job is just to make room, not to impress. A jar of peppers and a little bit of cheese can be plenty.

Canning Roasted Red Peppers
Ingredients
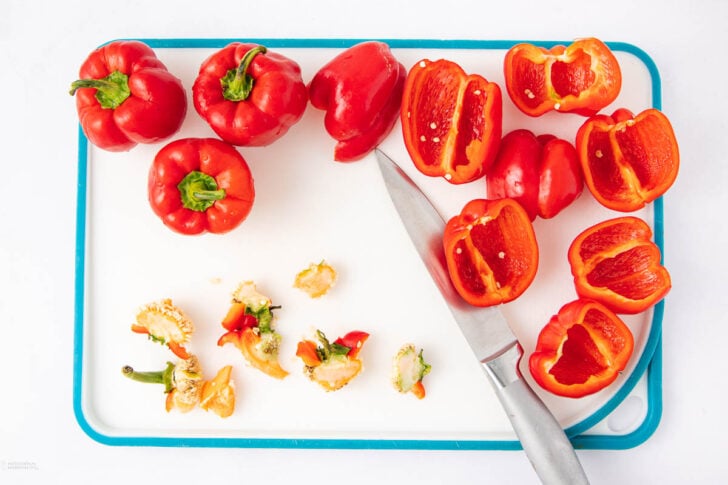
- 5 pounds red peppers, cleaned, halved, and seeds/stems removed
- 1 tablespoon olive oil
- 2 teaspoons salt, (½ teaspoon per pint jar)
- 8 teaspoons apple cider vinegar, (2 teaspoons per pint jar)
Instructions
Step 1: Roast the Peppers
- Preheat oven to 400 degrees Fahrenheit and line a baking sheet with parchment paper.
- Arrange pepper halves skin-side up in a single layer, then brush lightly with olive oil.5 pounds red peppers
- Roast for about 20 minutes, until skins are blistered and pulling away from the flesh. A few dark charred spots are fine and won't affect flavor.
Step 2: Steam and Peel
- Remove the peppers from the oven and immediately seal the baking sheet with aluminum foil and let them steam for 10 minutes.
- Once cool enough to handle, peel off skins and discard. If a few spots don't want to let go, cover again for another minute or two.
Step 3: Prepare the Canner and Jars
- Fill the pressure canner with 2 inches of water and start heating to 180 degrees Fahrenheit.
- Wash jars, lids, and rings thoroughly. Set aside.
Step 4: Pack the Jars
- Add ½ teaspoon salt and 2 teaspoons vinegar per pint jar.2 teaspoons salt, 8 teaspoons apple cider vinegar
- Pack peeled peppers into jars, leaving 1 inch of headspace.
- Pour boiling water into each jar to cover the peppers, still leaving 1 inch of headspace.
- Remove air bubbles using a non-metallic utensil.
- Wipe jar rims clean, place lids on, and screw rings on fingertip tight.
Step 5: Pressure Can the Jars
- Place jars on rack in canner. Lock the lid and heat on high.
- Let canner vent steam for 10 minutes, then place weight on the vent.
- Refer to the chart in the notes below for time and weight to process your jars.
After Pressure Canning
- Turn off heat and let canner cool naturally.
- Once pressure is released and lid removed, let jars sit in canner for 10 minutes.
- Remove jars using jar lifter and let cool undisturbed on a towel on the kitchen counter for 12 hours.
Storage
- Remove rings (prevents rust), wipe jars, label and date, and store in a cool, dark pantry.
- Keeps for up to 18 months.
- Refrigerate any unsealed jars and use within 1 week.
Gina’s Notes and Tips
| Recommended process time for Red Peppers in a dial-gauge pressure canner. | ||||||
| Canner Pressure (PSI) at Elevations of | ||||||
| Style of Pack | Jar Size | Process Time | 0 – 2,000 ft | 2,001 – 4,000 ft | 4,001 – 6,000 ft | 6,001 – 8,000 ft |
| Hot | Half-pints or Pints | 35 min | 11 lb | 12 lb | 13 lb | 14 lb |
| Recommended process time for Red Peppers in a weighted-gauge pressure canner. | ||||
| Canner Pressure (PSI) at Elevations of | ||||
| Style of Pack | Jar Size | Process Time | 0 – 1,000 ft | Above 1,000 ft |
| Hot | Half-pints or Pints | 35 min | 10 lb | 15 lb |


I do not have a pressure cooker ,I have a the use of an old canner. How long should I cook the peppers.
Lucy, If your old canner is actually a pressure canner that still seals and holds pressure, you can process the jars for 35 minutes at 10–15 pounds pressure (depending on your elevation). However, if it’s a water-bath canner, that method isn’t safe for plain roasted peppers because the temperature doesn’t get hot enough to prevent botulism. You can freeze them instead if you don’t have a pressure canner.”